The foto passaporto italiano: Biometric Requirements and US Visa Specs for 2026
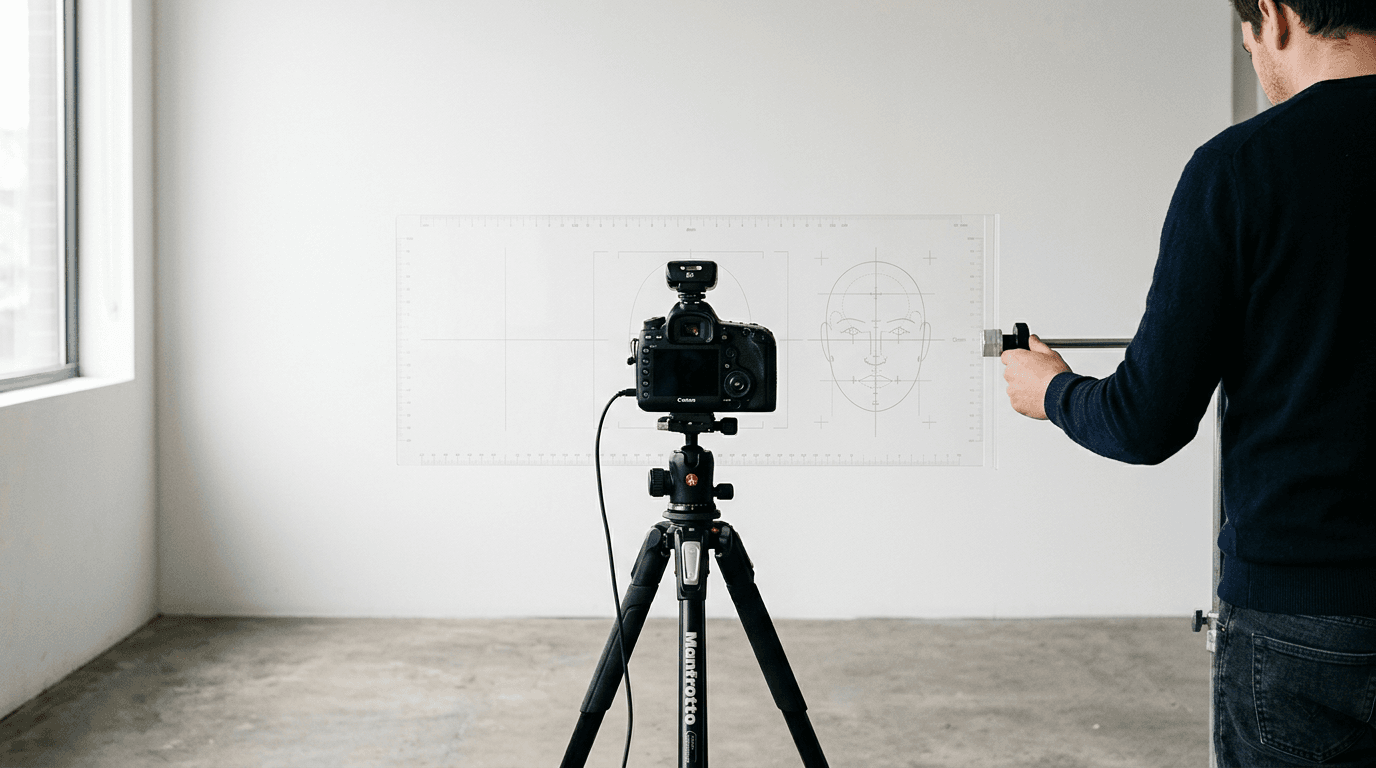
Parents preparing for international travel often assume that an infant's picture is judged with leniency. The reality is the opposite: biometric scanning software does not recognize age. A digital verification system applies the exact same geometrical map to a four-week-old newborn as it does to an adult. When applying for travel documents, capturing a compliant foto passaporto italiano is a mechanical process of satisfying algorithms, not a subjective assessment of a good photograph.
Quick Summary
Securing compliant biometric images for infants requires mapping specific physical proportions to rigid government templates. Algorithms evaluate head height, eye alignment, and background neutrality before a human ever reviews the application.
- European standards require strict 35x45mm sizing with specific facial coverage.
- US travel documents demand a 2x2 inch square format, shifting the optical center.
- Shadows and off-center gazes are the leading causes of automated rejection.
- Dedicated verification software detects non-compliance faster than manual visual checks.
Table of Contents
- Why biometric architectures reject manual cropping
- How US visa requirements break european formatting
- Diagnosing the three common points of biometric failure
- Why newborn physiology triggers automatic rejections
- Why ambient lighting breaks background extraction
- Where optical glare corrupts facial mapping
- How digital processing alters physical dimensions
- Where dimensional limits dictate printing formats
- How commercial kiosks corrupt biometric data
- Who should bypass automated digital processing
Why biometric architectures reject manual cropping
The organizing principle of international document photography is that different jurisdictions map the human face using fundamentally incompatible grids. A single source image rarely satisfies multiple governments without aggressive recalibration. To successfully submit applications for dual citizenship or visas, you must separate physical print dimensions from internal facial proportions.
When you prepare an italy passport photo, you are adhering to the International Civil Aviation Organization (ICAO) standards. This framework dictates a 35 by 45-millimeter canvas. However, the external dimension is only the container. The biometric engine measures the distance from the bottom of the chin to the crown of the head, which must occupy between 32 and 36 millimeters of that vertical space. This leaves less than 10 millimeters for the background above the head and the shoulders below the chin. If you scale a picture simply to fit the 35x45mm boundary, but the child's head only measures 28 millimeters vertically, the automated sorting system at the consulate will reject the image instantly.
Practical rule: Never crop an image to its final physical dimensions before confirming the internal head-to-canvas ratio; scale the face first, then cut the borders.
How US visa requirements break european formatting
Families applying for a North American visa cannot repurpose their European document images. The foto passaporto americano relies on a completely different biometric architecture. The US Department of State requires a 2 by 2-inch (51 by 51-millimeter) square format.

This shift from a rectangle to a square alters the optical center of the image. In a European layout, the eyes sit in the upper third of the frame. In the US layout, the eyes must sit horizontally between 1 1/8 inches and 1 3/8 inches from the bottom edge. Taking an image calibrated for Europe and dropping it onto a square canvas usually results in the eyes sitting too high, triggering an automatic denial during the digital upload process.
Background requirements diverge just as significantly. While the italian passport photo specifications allow for a light gray or cream background to provide contrast against pale skin, US specifications strictly mandate a plain white or off-white background with zero tolerance for texture. If you capture an image against a heavily textured white wall, the US digital validation tool flags the texture as shadow noise.
Families navigating these strict square-format requirements often rely on a dedicated United States baby passport photo guide to calibrate the optical center and background isolation correctly.
Diagnosing the three common points of biometric failure
Many parents assume that capturing acceptable italian passport photos is as simple as finding a blank wall. In reality, infant photography fails biometric validation for reasons entirely disconnected from adult rejections. When an application is returned, it is rarely due to resolution; it is typically a structural failure in how the infant's body interacts with the required geometry. Understanding these distinct failures allows you to apply the correct mechanical fix.
The floating shoulder defect
This occurs when a newborn is photographed lying down on a white sheet, but the camera is positioned at an angle rather than parallel to the child's face. The resulting perspective distortion makes the shoulders disappear behind the chin. Biometric software uses the shoulder line to establish the vertical axis of the torso. Without visible shoulders, the algorithm cannot confirm the subject is facing the lens squarely.
- Are both shoulders visible at the bottom edge of the frame?
- Does the chin obscure the neckline completely?
- Is the camera lens perfectly parallel to the floor?
If the shoulders are missing, elevate the child slightly using a rolled towel under their back, creating separation between the chin and the chest.
The asymmetrical gaze
Parents often use toys to capture the infant's attention, holding the object slightly to the left or right of the camera lens. While this yields open eyes, it causes the iris to shift off-center. Automated systems measure the distance between the pupil center and the bridge of the nose. If these distances are unequal, the software flags the face as partially turned.
- Do the irises sit exactly in the center of the sclera (white of the eye)?
- Are both ears equally visible?
- Is the space between the cheekbone and the nose identical on both sides?
The fix is placing a high-contrast visual target directly over the camera lens, forcing the eyes to track dead center.
The structural shadow cast
Infants lack neck length, meaning their chins rest directly on their chests. This physical trait creates a deep, sharp shadow directly under the jawline. Biometric algorithms interpret sharp, high-contrast shadows as facial hair or secondary objects in the frame.
- Is there a distinct black line under the chin?
- Does the background appear darker on one side of the head?
Eliminate this by placing a secondary, diffuse light source at waist-level facing up toward the infant to fill the under-chin void. Recognizing these failure modes is critical because different national algorithms weigh them differently; consulting specific baby passport photo requirements by country helps determine which shadows will trigger an automatic denial in your target jurisdiction.
Why newborn physiology triggers automatic rejections
Infants present unique biometric challenges because they lack the motor control necessary to hold a neutral expression. Biometric systems map the distance from the corners of the mouth to the center of the pupil to determine baseline facial geometry.
When an infant cries or widely opens their mouth, the geometric distance between the chin and the nose increases dramatically. This distorts the vertical mapping. For most adult applications, any departure from a closed-mouth neutral expression results in an immediate denial.
However, regulations for infants under one year of age generally acknowledge these physical limitations. Minor variations in expression - such as a slightly open mouth or a relaxed jaw - are often processed successfully. What remains strictly enforced is the visibility of the eyes. A sleeping newborn provides no biometric markers for iris mapping.
If the infant is asleep, you must wait. Waking a newborn specifically for the photograph often results in squinting or asymmetrical eye dilation, both of which corrupt the geometric map. The optimal window for capturing compliant images is the thirty-minute period immediately following a feeding, when the infant is naturally alert, their eyes are fully open, and the jaw is relaxed rather than clenched.
Why ambient lighting breaks background extraction
A common assumption is that any well-lit room produces an acceptable image. In biometric photography, overall intensity matters far less than uniformity. When extracting the subject from the background, algorithmic processors look for continuous contrast borders.
If a window sits to the left of the child, the right side of the face will register a lower exposure value. The software might interpret the shaded side of the face as merging with a dark background. Even if you use a white sheet, a one-directional light source creates a gradient on the fabric. The computer reads a gradient not as a white background, but as a textured gray environment.
To beat the extraction algorithm, the background must be illuminated independently of the subject. When photographing an infant from above, this means stretching the fabric taut to eliminate wrinkles that cast micro-shadows, and ensuring ambient light floods the space from at least two opposing directions.
Practical rule: If you can see the direction the light is coming from by looking at the shadows around the child's nose, the lighting is too directional for a biometric scan.
Certain strict jurisdictions are completely unforgiving of background gradients; reviewing the Australia baby passport photo guide demonstrates how even minor variations in background lighting lead to immediate digital rejections.
Where optical glare corrupts facial mapping
Beyond shadows and geometry, the biometric scanning engine relies on continuous pixel data to map the topography of the face. Optical glare creates areas of absolute white where all pixel data is destroyed. When the scanner encounters a patch of zero data on the forehead or cheeks, it registers an incomplete scan.

This failure mode is incredibly common when parents use a smartphone flash. Because the camera lens and the flash LED on a mobile device are positioned millimeters apart, the light strikes the skin and bounces directly back into the sensor. On an infant's skin, which is naturally reflective, this produces a harsh white circle directly between the eyebrows or on the tip of the nose.
The scanner uses the bridge of the nose to calculate the depth of the eye sockets. If the bridge of the nose is missing due to flash glare, the entire three-dimensional map collapses. To eliminate localized glare, rely entirely on indirect, diffused natural light rather than direct flash photography.
How digital processing alters physical dimensions
Capturing high-resolution images on a smartphone introduces a secondary layer of mechanical complexity: file compression and resolution scaling. A modern phone camera captures a mathematically enormous image. Most consulate portals limit file uploads to between 240 and 500 kilobytes.
When you compress a high-resolution image to fit this threshold, standard software algorithms discard pixel data. If this compression happens aggressively around high-contrast areas - like the border between the iris and the sclera - it introduces compression artifacts. The biometric scanner reads these artifacts as blurry or out-of-focus eyes, resulting in a denial.
The correct sequence for digital formatting is to crop first, resize the canvas to the required pixel density, and then apply a gentle compression algorithm. Because manual compression frequently degrades vital biometric data, utilizing an automated baby passport photo maker ensures the file size shrinks without compromising the strict pixel clarity required for eye tracking.
Where dimensional limits dictate printing formats
Comparing the rigid specifications between common travel jurisdictions reveals why attempting a uniform approach inevitably fails. The mathematical boundaries below dictate the absolute limits of acceptable biometric submissions.
| Specification Category | European Standard (Italy/Schengen) | United States Standard |
|---|---|---|
| External Dimensions | 35 x 45 mm | 2 x 2 inches (51 x 51 mm) |
| Head Height Ratio | 32 to 36 mm (71 - 80%) | 1 to 1 3/8 inches (50 - 69%) |
| Background Color | White, light gray, or cream | Pure white or off-white only |
| Eye Placement | Upper third of the frame | 1 1/8 to 1 3/8 inches from bottom |
| Digital File Size | Typically under 500 kb | Must not exceed 240 kb |
| Pixel Dimensions | Variable based on DPI | Exactly 600 x 600 pixels minimum |
Understanding these metrics prevents the common mistake of printing a US-sized image and cutting it down to meet European dimensions. Trimming a 51x51mm square down to 35x45mm fundamentally alters the internal proportions, invariably pushing the chin too close to the bottom edge. For families traveling extensively, regulations shift again across different continents; the Canada baby passport photo guide outlines their unique requirement for neutral facial expressions and studio verification stamps on the reverse side of physical prints.
How commercial kiosks corrupt biometric data
Even a perfectly calibrated digital file can fail at the printing stage. Standard commercial photo kiosks often apply automatic color correction, sharpening, and contrast enhancements to make consumer snapshots look vibrant.
When a kiosk applies these auto-enhancements to a biometric image, it artificially darkens the shadows under the eyes and shifts the skin tone. European standards mandate accurate skin tone reproduction. If the printer injects heavy magenta or yellow tones, the biometric scanner flags the image as digitally manipulated.
To preserve the integrity of the image, the file must be embedded onto a standard 4x6 inch (10x15 cm) template with strict instructions to disable all printer-side color corrections. Printing the images at exactly 100% scale without borderless printing enabled ensures the physical dimensions remain true to the millimeter. If you encounter issues where commercial printing kiosks alter the dimensions or color profile of your files, consulting the platform's help center provides exact export settings to bypass auto-enhancements.
Who should bypass automated digital processing
While software-driven verification solves the majority of infant photography challenges, understanding when a digital solution is inappropriate saves time and prevents repeated application denials.
Families traveling with infants requiring continuous facial medical equipment - such as feeding tubes or breathing apparatuses - should not rely on automated background removal tools. Standard algorithms are trained on unobstructed facial features. When confronted with medical tubing, the artificial intelligence often attempts to erase the equipment, treating it as an unwanted background element. This creates digital artifacts across the cheeks or jawline, violating the strict prohibition against image manipulation.
In these specific medical cases, submitting an unedited photograph accompanied by a signed medical declaration to the consulate is the only viable path. Modifying the face physically with medical tape or digitally with removal tools will always trigger a rejection for tampering.
FAQ
Does a baby have to keep their eyes open for a biometric scan?
Yes. The automated scanning software maps the geometry of the iris and the distance between the pupils. If the infant's eyes are closed or heavily squinting, the system cannot locate these required biometric anchor points, leading to an automatic rejection.
Can I hold my infant during the image capture?
You may support the infant, but no part of your body - including your hands, arms, or clothing - can appear in the frame. The algorithmic processor will reject the file if it detects secondary skin tones or foreign textures intruding on the background space.
What happens if the background is not perfectly white?
For a US application, any texture, gradient, or non-white color is flagged as an obstruction. For European documents, light gray or cream is acceptable to provide contrast against pale skin, but it must be completely uniform without any visible wrinkles or directional shadows.
How do I ensure the physical print matches the digital dimensions?
Place the digital image on a standard 4x6 inch (10x15 cm) layout before printing. When sending the file to a commercial kiosk, ensure "borderless printing" and "auto color correction" are both disabled so the hardware does not stretch or tint the final physical output.