How to come fare una foto formato tessera at Home With a Smartphone
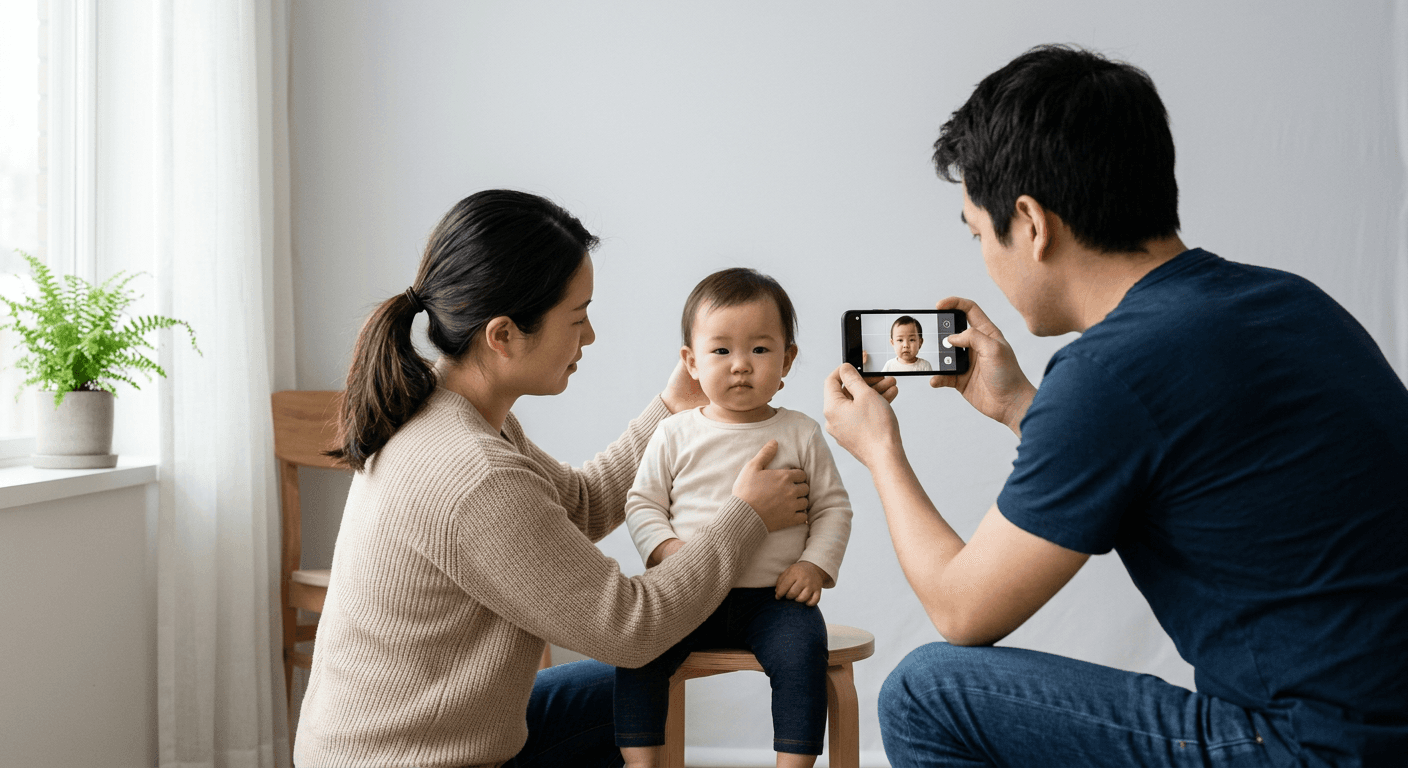
The rejection usually starts with something that looks minor on your phone screen - a shadow under the chin, a baby’s head tilted into the blanket, a white wall that turns gray in indoor light. For ID documents, those small issues are the difference between a usable image and doing the whole process again. If you need to know come fare una foto formato tessera at home, the workable approach is not “take a nice picture.” It is to control background, light, distance, expression, and final formatting in a repeatable order.
Quick Summary
Taking a compliant ID photo at home with a smartphone means building a simple setup, shooting for neutrality rather than style, and checking the final image against the document’s exact rules before submission or printing. The phone camera matters less than light, head position, background control, and correct sizing.
- Use even front lighting and avoid mixed light sources.
- Keep the background plain and shadow-free before worrying about camera quality.
- Frame with extra space so final cropping does not cut into the head or shoulders.
- Check the country-specific photo rules before you print or upload.
Table of Contents
- Quick Summary
- Table of Contents
- 1. Start with the document rule, not the camera
- 2. Build a background that stays plain in the actual photo
- 3. Light the face for flatness, not drama
- 4. Position the phone to avoid distortion
- 5. Set up the subject before you worry about sharpness
- 6. Shoot more frames than you think you need
- 7. Edit only for compliance, then check output size
- Common Pitfalls & Troubleshooting
- FAQ
- Recommended Reads
1. Start with the document rule, not the camera
The exact specification decides everything downstream
If you are trying to figure out how to come fare una foto formato tessera or come fare foto passaporto, the first decision is not portrait mode versus standard lens. It is which authority will judge the photo. Passport, visa, national ID, and residence documents can look similar but reject on different details: image dimensions, head height, background color, expression rules, and whether digital retouching is allowed.
That matters because the same technically sharp photo can pass for one document and fail for another. Parents run into this constantly with infant applications, especially for foto passaporto neonato, where the baby may be acceptable in posture but the crop is wrong for that country’s standard.
Before taking a single shot, check the official format for your destination document. If you are working across countries, a country-specific requirements page like the Baby Passport Photo Requirements by Country guide is useful because it keeps the sizing and pose checks tied to the document rather than to guesswork.
What to do today:
- Write down the required photo size, background requirement, and head positioning rule.
- Confirm whether the application needs digital upload, printed copies, or both.
- Check whether the document needs one image or several - many people asking quante foto per passaporto are really dealing with a print submission rule, not a shooting rule.
2. Build a background that stays plain in the actual photo
A white wall is not enough if it throws shadows or texture
Most home failures come from assuming a white wall solves the background requirement. It does not. The wall may be off-white, textured, marked, or close enough to the subject that it produces a dark outline shadow around the head. That shadow is what often makes an image look informal or non-compliant.
The practical fix is simple: place the subject a short distance forward from the background so the light reaches the face and wall more evenly. If the room is tight, use the smoothest blank surface you have and prioritize shadow control over perfect whiteness. A background that is plain and evenly lit is usually more workable than a bright white wall with heavy side shadows.
For babies, put the infant on a plain light sheet only if the country permits a straight-on face and the blanket stays wrinkle-free around the head. Otherwise, have one adult support positioning outside the frame. This is where many foto passaporto neonato attempts fail - not because the baby moved, but because a hand, blanket fold, or mattress edge sneaks into the crop.
What to check today:
- Look at the wall through the camera, not with your eyes.
- Zoom in on the edge around the head for shadows or texture.
- Retake from a slightly greater subject-to-wall distance if the outline looks dark.
3. Light the face for flatness, not drama
The best home setup is usually window light used carefully
A document photo is one of the few portraits where flattering light can be the wrong light. Side lighting, overhead spots, and warm household lamps create depth and mood. ID systems want the opposite: clear facial visibility with minimal shadow.
The easiest setup is indirect daylight from a window, with the subject facing the light rather than turning sideways to it. Avoid direct sun because it creates hard nose shadows and squinting. Also avoid mixing window light with ceiling lights if they cast different color tones on the face and background. Mixed light is a common reason skin appears uneven, which then tempts people into over-editing.
If you are dealing with foto passaporto trucco, keep the standard practical: makeup should not alter the recognizability of facial features or create glare. Heavy highlighter, very reflective foundation, or strong contouring causes more trouble than ordinary everyday makeup. For ID use, neutral presentation wins.
Practical rule: If one side of the nose or under the chin looks distinctly darker on your phone screen, fix the light before taking more shots. Editing is the wrong stage to solve a lighting problem.
A useful follow-up reference for exact country checks is the United States baby passport photo guide if you are preparing an infant image for a US application, because infant positioning and expression tolerance differ from adult expectations.
4. Position the phone to avoid distortion
Bad distance changes face shape before editing even starts
Phone photos fail when the camera is too close, too low, or angled downward. That creates perspective distortion - larger forehead, wider nose, receding ears, or a chin shape that does not match the person in real life. The result may still look fine to family members, but it can look wrong in a biometric crop.
Keep the phone roughly at the subject’s eye level and far enough back that you can crop later without using digital zoom. Digital zoom lowers usable detail and magnifies shake. A standard rear camera usually gives a better file than the front camera, but only if someone can hold it steady and keep the subject centered.
People asking foto per passaporto dove farle often assume a studio is automatically better because of the camera. In practice, the studio advantage is usually repeatable distance, even lighting, and controlled framing. Those are exactly the things you need to reproduce at home.
What to do today:
- Turn off portrait effects and beauty filters.
- Use the rear camera if possible.
- Keep the phone straight, not tilted.
- Leave space above the head and around shoulders for final cropping.
5. Set up the subject before you worry about sharpness
Expression, posture, and visibility fail more photos than blur does
A technically sharp image can still be unusable if the eyes are not visible, the head is rotated, the mouth is open when the document expects neutral expression, or hair covers key facial edges. This is especially relevant for family applications because adults often spend too much time on camera settings and too little on pose discipline.
For adults and older children, remove glasses if there is any glare risk unless the document rules explicitly permit them and the eyes remain fully visible. Keep hair off eyebrows and cheek lines. Shoulders should face forward and the face should be square to camera. A slight turn that looks natural in a portrait is enough to cause a reject in a document workflow.
For infants, the order matters. Settle the baby first, then shoot quickly once the face is neutral and eyes are open if the document requires open eyes. Do not chase a smiling expression. For passport and visa work, neutrality is usually safer than a cute moment.
If you are preparing applications for another jurisdiction, a country page such as the Canada baby passport photo guide helps because baby-specific allowances are not identical everywhere.
6. Shoot more frames than you think you need
The winning image is usually the calmest neutral frame, not the prettiest one
The mistake here is treating the session like a regular portrait where one or two attractive shots are enough. ID photography is a selection problem. Micro-differences matter: one frame has a cleaner jawline, one has better eye alignment, one has less background shadow, one has less motion blur. You often do not see the best frame until you compare several nearly identical shots.
Take a short burst or a series of controlled singles, then review them at full size. Do not choose based on smile, styling, or whether the person “likes” the image. Choose based on symmetry, even light, visible features, and cropping headroom.
This is also where smartphone convenience helps. A compliant image captured at home can then be processed into a digital file or print layout. If you need help understanding output formats and acceptance questions, the Help Center for baby passport photo questions is relevant because it covers common submission issues rather than shooting aesthetics.
What to check today:
- Compare at least 5 to 10 frames side by side.
- Eliminate any frame with chin shadow, slight blur, or head tilt.
- Keep the most neutral, evenly lit file, not the most flattering one.
7. Edit only for compliance, then check output size
Formatting mistakes ruin otherwise good photos
This is the point where many good home photos get ruined. People crop too tightly, brighten skin selectively, smooth blemishes, or submit the wrong canvas size. For document use, editing should be limited to technical preparation: background cleanup where permitted, centering, sizing, and formatting to the target specification.
Do not treat the image like a social profile photo. If the final file looks beautified, heavily sharpened, or airbrushed, you have gone too far. The goal is recognizability and rule compliance, not polish.
The other common error is forgetting the output path. A digital application may need one correctly sized file, while a paper application may need a print-ready layout with multiple copies on a sheet. That is why questions like quante foto per passaporto and foto per passaporto dove farle are often really about final submission logistics, not capture.
If your use case is a UK application, the United Kingdom baby passport photo guide is a useful example of how final formatting requirements can differ even when the photo looks broadly similar.
One practical point near the end: this kind of smartphone-based photo workflow suits parents and families who can follow exact rules and want a controlled at-home process. It is a poor fit for anyone who cannot create a plain background, cannot get the subject steady, or is dealing with a document office that insists on a certified in-person photo.
Common Pitfalls & Troubleshooting
The frustrating part of ID photos is that different problems can all look like the same outcome: “rejected photo.” Here is how to diagnose the real cause.
The photo looks clear, but the background keeps failing
Symptom: The face is sharp, but the image still looks unofficial or gets flagged for quality.
Most likely cause: Background shadows or visible texture. This is the most common real cause in home setups.
Fix: Move the subject farther from the wall, face the light source more directly, and reshoot. Do not try to rescue a shadow-heavy wall with aggressive editing.
The face looks strange even though the person was centered
Symptom: Nose, forehead, or chin looks exaggerated.
Cause: Camera was too close or held at the wrong height.
Fix: Move the phone back, keep it at eye level, and crop later. Avoid wide-angle closeness for headshots.
The image is technically fine, but the document office still rejects it
Symptom: Nothing obvious looks wrong to you.
Cause: Wrong format for that document - size, head ratio, expression rule, or print layout mismatch.
Fix: Recheck the exact document specification. Use a country-specific requirement page such as the Australia baby passport photo guide when the application is jurisdiction-specific.
The baby photo keeps failing even though the baby is visible
Symptom: Infant face is in frame, but the image still looks unusable.
Cause: Tilted head, blanket intrusion, partial support visible, or eyes/expression outside that country’s rule.
Fix: Reset the setup entirely. Smooth the surface, remove visible supports from frame, and wait for a calmer neutral moment instead of shooting continuously through movement.
FAQ
Can I really use a smartphone for passport or visa photos?
Yes, if the phone can produce a sharp, well-lit image and you control the setup properly. The phone itself is rarely the limiting factor. The limiting factors are usually light, perspective, background, and final formatting.
How many photos do I need for a passport application?
It depends on the authority and whether submission is digital or printed. That is why quante foto per passaporto should be checked against the specific application instructions, not assumed from another country or a previous document.
Is makeup allowed in passport photos?
Ordinary makeup is usually workable if it does not change the apparent structure of the face or create shine and glare. For foto passaporto trucco, think neutral skin finish and visible natural features, not event makeup.
What is hardest about a baby passport photo?
The hardest part is not camera quality. It is getting a straight-on, unobstructed, neutral image with a plain background and no visible support. That is why foto passaporto neonato takes more setup discipline than most parents expect.
When should I skip the at-home route?
Skip it if you cannot create even lighting, cannot get the subject square to camera, or need a document workflow that specifically requires in-person certification. Home capture works best when the environment is controllable.