How to Capture a Compliant Foto per Permesso di Soggiorno and Electronic ID
You wait three months for an appointment at the immigration office, hand over your documents, and watch the officer slide the paperwork back because a faint shadow falls across the right side of your infant's face. A rejected foto per permesso di soggiorno is not just a minor inconvenience; it is a hard reset on a bureaucratic timer that delays residence permits and travel plans for weeks. Navigating biometric photo requirements means understanding exactly what the scanning software rejects before you ever submit the file.
Quick Summary
Obtaining a compliant foto per permesso di soggiorno or electronic identity card photo requires adhering to strict ICAO biometric standards. These regulations dictate head size, background color, and lighting uniformity. By controlling your environment and understanding the specific dimensions required by the software, you can avoid immediate application rejections at the government office.
- Backgrounds must be solid white or light grey with zero texture or patterns.
- The subject's face must occupy exactly 70 to 80 percent of the vertical frame.
- Lighting must be entirely even, with no cast shadows on the face or the backdrop.
- Infants must have both eyes open, with no hands or supporting objects visible.
Table of Contents
- 1. Understanding Biometric Baselines
- 2. Preparing for the Foto per Carta d'Identità Elettronica
- 3. Capturing a Foto per Passaporto Elettronico for Infants
- 4. Formatting and Printing the Final Image
- Common Pitfalls & Troubleshooting
- FAQ
- Recommended Reads
1. Understanding Biometric Baselines
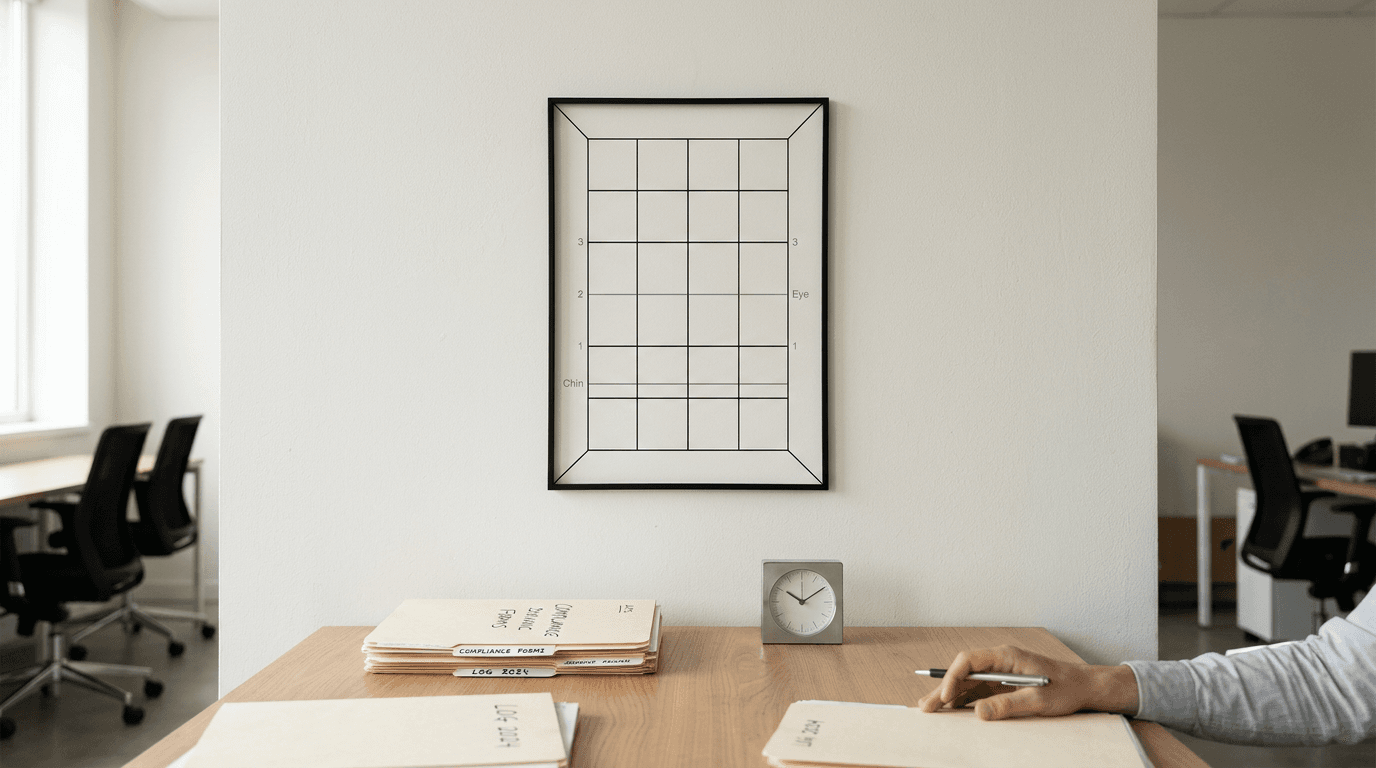
Government software does not evaluate a photograph based on aesthetics. It runs an automated analysis looking for specific distances between facial landmarks, contrast ratios, and edge detection. If the algorithm cannot find the center of the pupils or the bottom of the chin within its expected grid, the photo fails instantly.

The Mathematical Constraints
Standard European documents, including Italian residence permits, require an image measuring exactly 35 by 45 millimeters. The vertical distance from the bottom of the chin to the crown of the head (excluding hair volume) must sit strictly between 32 and 36 millimeters. This ensures the face fills almost the entire vertical height of the frame. People frequently submit photos where the subject is framed from the chest up, which forces the scanning software to reject the image because the facial landmarks are too small to map correctly.
Background Specifications
The background serves a single mechanical purpose: providing absolute contrast against the edge of the subject's head. It must be plain, uniform, and light-colored - typically stark white or a very pale grey. Wood grain, wrinkles in a fabric sheet, or the edge of a baseboard will trigger an algorithm failure.
2. Preparing for the Foto per Carta d'Identità Elettronica
When capturing a foto per carta d'identità elettronica, lighting is the primary variable you must control. Smartphone sensors are capable of capturing sufficient detail, but they aggressively compensate for poor lighting by increasing ISO, which introduces digital noise. Government scanners interpret heavy digital grain as a loss of biometric clarity.
Engineering the Lighting
Never use a direct on-camera flash. Flash creates a harsh, defined shadow directly behind the subject's head and flattens the facial features, effectively destroying the depth the algorithm relies on to map the nose and eye sockets. Instead, position the subject facing a large window on an overcast day. This provides diffuse, omnidirectional light that wraps around the face, illuminating both cheeks equally without casting shadows onto the wall behind them.
Subject Positioning
The subject must face the lens squarely. A slight tilt of the chin up or down changes the measured distance between the nose and the chin, leading to a rejection. The camera lens should be exactly at eye level with the subject, held completely parallel to the face.
3. Capturing a Foto per Passaporto Elettronico for Infants
Photographing adults is a matter of following instructions; photographing an infant for a foto per passaporto elettronico is an exercise in environmental control. Newborns cannot hold their heads up, cannot follow a command to look at a lens, and frequently close their eyes.
The Floor Lay Technique
The most reliable mechanical approach for an infant who cannot sit unassisted is the floor lay. Place a completely smooth, bright white poster board or ironed flat sheet on the floor directly beneath a large window. Lay the infant on their back. Stand directly over them, ensuring your own body does not cast a shadow across their face.
Practical rule: Tap the screen to lock focus and exposure on the infant's eyes before you attempt to get their attention, so you can press the shutter the exact millisecond they look up.
To see how this process translates to specific national standards when dealing with cross-border applications, reviewing the Baby Passport Photo Requirements by Country - 100+ Guides provides detailed dimensional tolerances.
Managing Expressions
Pacifiers are strictly forbidden, as they obscure the mouth and jawline. Hands, whether the infant's or a parent's supporting the baby's head, must not appear anywhere in the frame. The mouth must be closed if possible, though border agencies generally grant slight leniency for newborns regarding a slightly parted mouth - provided both eyes are distinctly open and looking toward the camera sensor.
4. Formatting and Printing the Final Image
Capturing the raw image is only the first half of the process; outputting it in a format the government accepts is the second.
Digital vs Physical Submissions
Depending on the specific municipality (Comune) or police headquarters (Questura), you will either need to upload a digital JPEG file or submit physical photographs. Digital files generally need to be under 500 KB and formatted to a 300 DPI resolution to prevent pixelation during the biometric scan. For physical prints, standard 4x6 inch (10x15 cm) photo paper is the global standard for printing templates. Using standard templates ensures you can print at any basic pharmacy kiosk without specialized equipment. If you encounter issues formatting the final output, the Help Center details exactly how to arrange the 35x45mm cuts onto a standard print block.
Common Pitfalls & Troubleshooting
Government software fails images for highly specific reasons that look identical to an untrained eye. Here is how to diagnose and correct the most frequent failures.
The 'Background Noise' Rejection
- Symptom: The officer states the background is "unsuitable" even though it looks white to you.
- Diagnosis: This is almost always caused by a fabric sheet with deep wrinkles or a textured painted wall. The scanning software detects the shadows in the wrinkles as physical objects.
- Fix: Switch from fabric to a rigid piece of white poster board. It eliminates texture entirely.
The 'Facial Shadow' Rejection
- Symptom: The photo is rejected for poor illumination, despite being taken in a brightly lit room.
- Diagnosis: The subject was side-lit (e.g., standing next to a lamp rather than facing it), causing one side of the nose to cast a deep shadow across the cheek. The algorithm cannot detect the boundary of the shadowed cheek.
- Fix: Turn the subject 90 degrees so they directly face the primary light source, ensuring both sides of the face are illuminated equally.
The 'Proportion' Rejection (Most Common)
- Symptom: The image is rejected because the face is "too small" or "too large."
- Diagnosis: The raw photo was printed without being cropped to the strict 35x45mm ratio, or the cropping ignored the 32-36mm chin-to-crown rule.
- Fix: Measure the printed image with a physical ruler before leaving the house. The distance from the bottom of the chin to the top of the head must be exactly within that 4-millimeter window. If you are unsure if your crop will pass, relying on tools backed by a 100% Refund Policy mitigates the financial risk of trial and error.
FAQ
Can I wear my glasses in the photo?
It is highly recommended to remove glasses entirely. Even minor glare on the lenses or a frame that slightly obscures the eye socket will result in an automated rejection. Removing them guarantees the eye biometric scan succeeds.
What should an infant wear for their photo?
Dress the infant in dark or vividly colored clothing. A white or very light pastel onesie will blend directly into the required white background, causing the software to fail to detect the infant's shoulders.
Can I edit out the background using Photoshop?
Manual background removal is strictly forbidden by most government agencies if it alters the edge of the hair or face. Only specialized biometric software designed to comply with ICAO standards should be used to format the background.
How recent does the photo need to be?
Photos must be taken within six months of the application date. Submitting a photo that was previously used on a visa from a year ago will be detected and rejected.