How to Capture a Compliant foto passaporto neonato at Home
You are balancing a smartphone over a squirming newborn on a bedspread, hoping the daylight does not shift before the baby finally stops crying and looks at the lens. Taking an infant passport photo at a commercial studio usually ends in tears, rejected prints, and wasted money. Capturing a biometric-compliant foto passaporto neonato at home is entirely possible, but it requires controlling specific environmental variables that government verification algorithms strictly enforce. This guide breaks down exactly how to manage lighting, positioning, and compliance checks without relying on luck.
Quick Summary
Capturing a government-compliant infant passport photo requires flat lighting, neutral support, and strict adherence to biometric sizing rules.
- Use diffuse natural light to eliminate facial and background shadows.
- Lay the infant on a firm surface covered by a plain white or light grey sheet.
- Ensure both ears are visible and the face is fully illuminated.
- Verify the final crop against an official template before submission to avoid rejection.
Table of Contents
- Requirements for a foto passaporto neonato
- 1. Prepare the Lighting Environment
- 2. Establish a Neutral Background Support
- 3. Frame and Capture the Image
- 4. Manage Infant Posture and Gaze
- 5. Execute Biometric Verification
- Common Pitfalls & Troubleshooting
- FAQ
- Recommended Reads
Requirements for a foto passaporto neonato
Every government requires specific biometric markers for identification, even for infants who cannot hold their heads up. The primary challenge of a foto passaporto neonato is that verification systems treat an infant's face precisely the same way they treat an adult's. Shadows under the chin, a slightly tilted head, or hands visible in the frame will trigger an automatic rejection. Understanding these rigid standards before you set up the camera prevents endless retakes. The mechanics of biometric scanning rely on mapping the distance between the eyes, the tip of the nose, and the chin. If lighting obscures any of these anchor points, the software cannot calculate the geometric distances. Furthermore, while adults sit against a wall, infants must be laid down or supported, introducing the risk of fabric wrinkles or supportive hands entering the frame. If you are preparing an application for the US, you will need to review the specific sizing rules detailed in the United States Baby Passport Photo Guide | BabyPassportMaker US | Baby Passport Photo Maker to ensure the head measures between 1 inch and 1 3/8 inches from the bottom of the chin to the top of the head.
1. Prepare the Lighting Environment
Lighting is the single most common reason passport photos fail biometric checks. Artificial overhead lighting casts heavy shadows under the infant's eyebrows, nose, and chin, which the biometric software misinterprets as facial features or deformities. The mechanics of proper passport lighting require diffuse, even illumination across the entire face and the background directly behind the head.
To achieve this, rely on indirect natural light. Position the infant on the floor or a bed near a large window, but not in direct sunlight. Direct sunlight creates harsh contrasts, blowing out the highlights on one side of the face while plunging the other side into darkness. If the light from the window is too directional, use a white piece of cardboard or a reflector on the opposite side of the infant to bounce light back onto the shadowed side of the face.
The mistake people actually make here is using the camera's built-in flash. A smartphone flash creates a harsh, specular reflection on the skin, often causes red-eye, and projects a hard black shadow directly behind the baby's head. This ruins the background separation required by immigration authorities. If you must use artificial light, bounce a strong lamp off the ceiling to diffuse it evenly across the room. Always review the lighting guidelines for your specific region, such as those found in the United Kingdom Baby Passport Photo Guide | BabyPassportMaker US | Baby Passport Photo Maker, to confirm background shadow tolerances.
2. Establish a Neutral Background Support
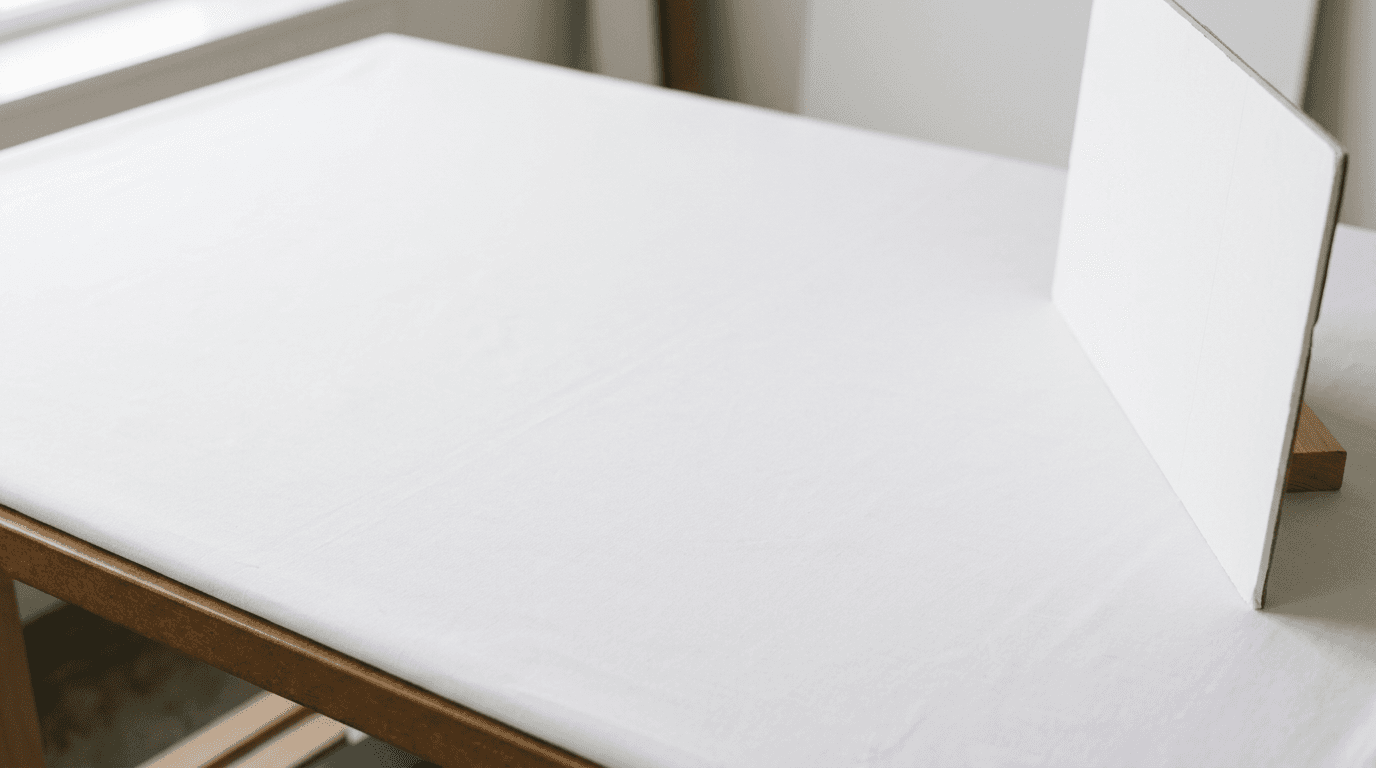
The background must be plain, untextured, and either white or off-white depending on the destination country's rules. For an infant who cannot sit unaided, the most effective method is laying them flat on their back. The mechanics of this setup involve draping a plain white sheet or a piece of poster board over a firm mattress or the floor. The surface must be firm enough that the infant's head does not sink into it, which would cause the fabric to bunch up around the ears and neck.

Wrinkles and creases in the background fabric create shadows that algorithms read as background clutter. Pull the sheet completely taut and secure the edges. If the baby needs head support to look straight up, place a small, rolled-up towel underneath the white sheet to cradle the neck, ensuring the towel itself remains completely invisible to the camera.
The specific mistake parents make during this step is leaving car seat straps, pacifier clips, or parental hands in the frame. Even a sliver of a parent's finger supporting the baby's chin will result in immediate rejection. The background must contain absolutely nothing but the authorized color. If you are applying for a European visa, note the specific light grey background rules often required, differing entirely from the bright white standard.
3. Frame and Capture the Image
Smartphone cameras utilize wide-angle lenses by default. If you hold a wide-angle lens too close to the infant's face, it introduces barrel distortion, making the nose appear disproportionately large and the ears recede out of view. This distorts the biometric facial map. The correct mechanic for framing an infant passport photo is to step back and use the camera's optical zoom.
Hold the camera parallel to the infant's face, about three to four feet away. Zoom in (usually the 2x or 3x setting on modern smartphones) to fill the frame with the baby's head and upper shoulders while leaving ample background space around the head for cropping.
Practical rule: Stand back three feet and use optical zoom to flatten the facial features; never push the phone within twelve inches of the infant's nose.
The mistake people make here is tilting the phone. If the camera is angled upward or downward, the resulting image shows the baby looking up at the ceiling or down at their chest, obscuring the chin or the forehead. The lens must be perfectly parallel to the plane of the baby's face. Take multiple bursts of photos. Infants move constantly, and capturing the exact fraction of a second where the head is straight and the eyes are open requires volume.
4. Manage Infant Posture and Gaze
The strictest rules of biometric photography revolve around the subject's posture and facial expression. The infant must face the camera squarely, with both edges of the face visible. The mouth should be closed, and the eyes must be open and looking toward the lens. While some governments relax the "closed mouth" rule slightly for newborns, the "eyes open" rule is almost universally enforced.
Achieving this requires timing and distraction. Take the photo when the infant is well-rested and recently fed. To direct their gaze, hold a high-contrast toy or a small light right next to the camera lens. Do not shake a rattle violently, as this causes the baby's head to thrash. Move the object slowly to draw their eyes directly to the lens.
The critical mistake parents make in this step is accepting a photo where the head is rotated slightly to one side. A three-quarter profile is useless for a passport application. Both ears (or the edges of the face if the ears are naturally flat) must be equally visible. If the baby's head persistently lolls to one side, gently reposition them using the hidden towel method mentioned earlier. For regional specificities regarding infant gaze tolerances, consult the Australia Baby Passport Photo Guide | BabyPassportMaker US | Baby Passport Photo Maker.
5. Execute Biometric Verification
Once you have captured a sharp, evenly lit image with a neutral background and a straight gaze, you must crop it to the exact specifications of the target government. An uncropped smartphone photo will be rejected. You must map the image to an official template, ensuring the head size and eye position fall precisely within the required millimeter bounds.
Mechanically, this means using a verification tool to measure the distance from the bottom of the chin to the top of the head (excluding hair), and the distance from the bottom of the image to the eye line. Finding an accurate esempio foto passaporto online helps visualize the required crop, but visual estimation is not enough. You must use software that applies the exact measurements.
The mistake parents make here is attempting to crop the photo using standard smartphone editing tools without millimeter guidelines. Trimming the image into a square does not guarantee the face is proportioned correctly within that square. A head that is too large or too small within the frame will fail the biometric scan at the passport office. To understand the exhaustive list of sizing rules across different jurisdictions, review the Baby Passport Photo Requirements by Country - 100+ Guides | Baby Passport Photo Maker.
Common Pitfalls & Troubleshooting
The Background Appears Grey or Uneven
- Symptom: You used a pure white sheet, but in the final photo, it looks muddy, grey, or has dark gradients in the corners.
- Cause: Underexposure and lack of ambient light hitting the background. The camera metered for the baby's face and darkened the background.
- Fix: Move closer to the window to increase ambient light on the sheet, or tap the background on your smartphone screen to adjust the exposure compensation upward slightly before shooting.
Shadows Under the Nose and Chin
- Symptom: Distinct black shapes appear under the infant's facial features.
- Cause: Directional light coming from strongly overhead (like a ceiling fan light) or an angled desk lamp.
- Fix: Turn off all artificial overhead lights. Rely purely on flat, diffuse window light coming from the side, and use a white reflector card to bounce light up into the shadowed areas.
Blurry or Soft Focus
- Symptom: The infant's eyes or the edges of their face lack sharp definition when zoomed in.
- Cause: Slow shutter speed triggered by low indoor lighting, combined with the infant's natural squirming.
- Fix: Increase the ambient light in the room dramatically. The more light available, the faster the camera's shutter speed will be, freezing the baby's motion.
Distorted Facial Proportions
- Symptom: The baby's nose looks massive, and their ears are barely visible, creating a "fish-eye" effect.
- Cause: Holding the smartphone lens too close to the subject's face.
- Fix: Step back at least three feet. Switch to your smartphone's 2x or 3x optical zoom lens to flatten the perspective.
FAQ
Do both of my baby's ears need to show in the passport photo?
Yes, the face must be completely square to the camera. While some infants naturally have ears that sit flat against the head, the edges of the face must be symmetrical, indicating the head is not turned to the left or right.
Can my baby's eyes be closed in a passport photo?
Generally, no. Most passport authorities strictly require the infant's eyes to be open and clearly visible. Some countries offer slight leniency for newborns under a few weeks old, but an open-eyed photo is always the safest route to avoid application delays.
What if my baby has a pacifier or is crying?
The infant's mouth must ideally be closed with a neutral expression. Pacifiers, toys, and hands are strictly forbidden in the frame. While a slight open mouth may pass for a newborn, an actively crying face distorts biometric measurements and will be rejected.
Is it acceptable to remove the background using editing software?
Most government guidelines explicitly prohibit digital manipulation or artificial background removal tools that alter the edge of the subject's head or hair. The photo must be taken against a genuinely neutral background to ensure compliance, though specialized biometric tools that format without altering facial data are often used.