Complete Guide on come fare una foto formato tessera for Italian Documents
You have exactly three seconds to press the shutter before your infant rolls off the white sheet you just taped to the floor. The local municipality requires a perfectly framed biometric image for their first travel document, but a newborn cannot sit upright and does not care about International Civil Aviation Organization (ICAO) standards. Parents researching come fare una foto formato tessera for an infant quickly realize that standard photography advice fails when applied to a moving subject. Achieving a compliant image at home requires overriding your smartphone's default camera settings, controlling ambient light to trick biometric software, and understanding exactly what the government scanner measures before it accepts or rejects your file.
Quick Summary
Generating a compliant Italian identification photo requires precise control over lighting, camera distance, and biometric cropping. You must use a standard focal length to prevent facial distortion, eliminate background shadows entirely, and crop the final file to exact millimeter specifications.
- Position the camera at least 1.5 meters away to prevent wide-angle lens distortion.
- Place the subject facing a natural light source to eliminate drop shadows.
- Maintain a 35x45 millimeter crop ratio with the head occupying 70 to 80 percent of the frame.
- Use AI tools explicitly trained on facial biometrics rather than generic background removers.
Table of Contents
- 1. Controlling the Optical Distortion
- 2. Engineering the Lighting Setup
- 3. Formatting the foto per carta d'identità elettronica
- 4. Finalizing the foto per permesso di soggiorno
- 5. Exporting a foto digitale formato tessera
- Common Pitfalls & Troubleshooting
- FAQ
- Recommended Reads
1. Controlling the Optical Distortion
Capturing a compliant document image begins with understanding how your smartphone camera interprets physical space. Most modern devices default to a wide-angle lens, typically around a 24mm or 26mm equivalent focal length. This wide field of view is designed to capture broad landscapes, but it introduces heavy barrel distortion when placed close to a subject.

Wide-angle lenses alter the facial map
Hold a smartphone thirty centimeters from an infant's face. The camera exaggerates whatever sits closest to the lens. The nose appears artificially enlarged, the ears are pushed back, and the jawline stretches outward. Biometric validation software relies on a precise map of the face, specifically measuring the distance between the pupils, the width of the mouth, and the distance from the bottom of the chin to the crown of the head. When a wide-angle lens distorts these proportions, the software calculates an invalid facial geometry. It instantly rejects the image.
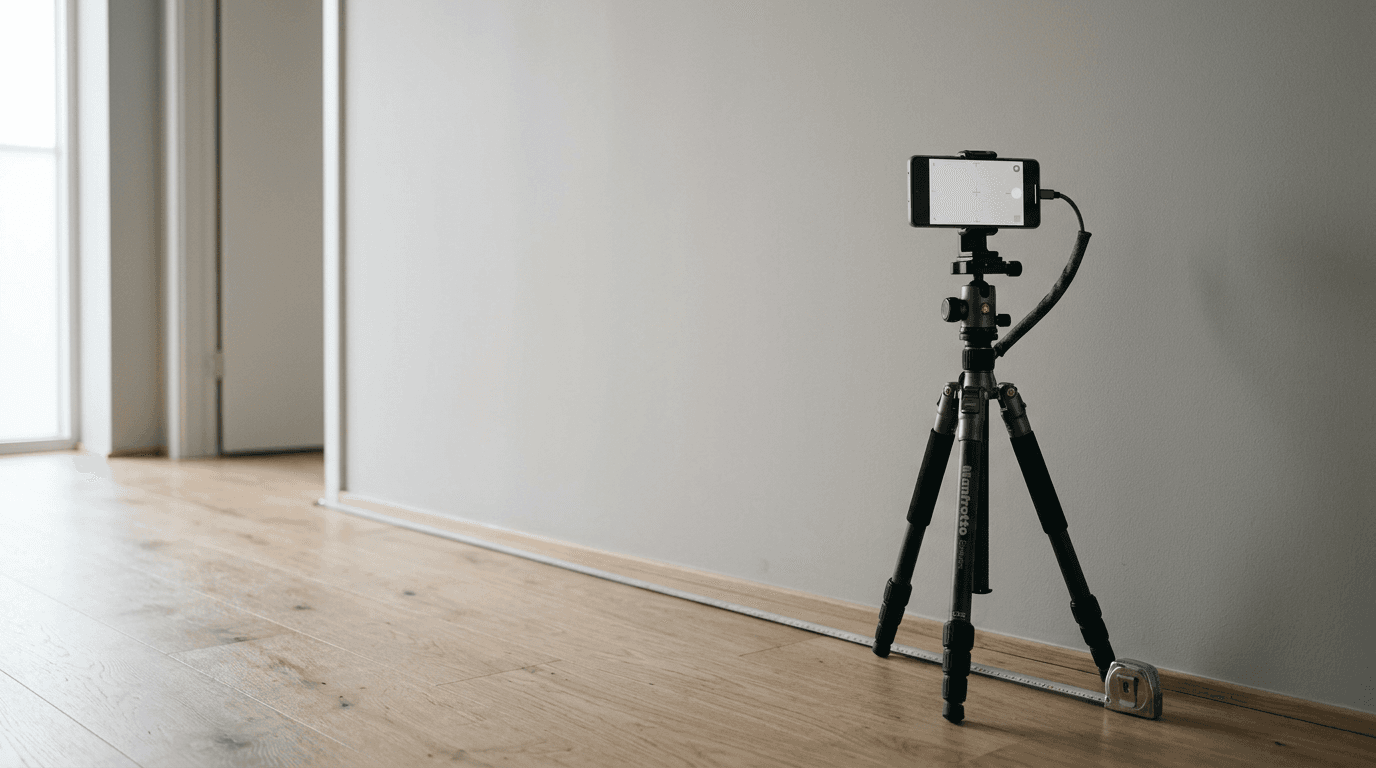
The mechanical fix is distance. You must step back from the subject to flatten the optical perspective. By moving the camera at least 1.5 meters away and manually zooming in to 2x or 3x on the screen, you switch the device to its telephoto lens or force a center crop of the main sensor. This replicates the visual compression of a traditional portrait lens, rendering the facial features exactly as they appear to the naked eye.
Practical rule: Never place the camera closer than an arm's length to the subject's face; step back and zoom in to flatten the facial features and preserve accurate biometric proportions.
The most common mistake parents make here is leaning over the infant while they lie on the floor, holding the phone directly above the child's nose. This posture guarantees a wide-angle distortion failure. Instead, place the child on a flat white poster board on the floor, stand back, and use the zoom function to frame the head and upper shoulders.
2. Engineering the Lighting Setup
Lighting an identification image is not about making the subject look flattering; it is about providing the validation software with an unobstructed view of the facial topography. Government portals utilize edge-detection algorithms to map the boundary between the jawline and the neck, and between the hair and the background.
Biometric scanners interpret shadows as physical geometry
If you light the subject from one side, perhaps by placing them sideways next to a window, a hard shadow falls across half the face. The biometric scanner reads this sudden drop in exposure as a physical edge. It attempts to map a jawline where none exists, fails to find the expected symmetry, and kicks the file out of the system. Similarly, a strong overhead light casts deep shadows in the eye sockets and under the chin, hiding the exact pupil placement required for the scan.
To build a flat, symmetrical lighting environment, position the subject facing directly toward a large, diffused light source, such as a window covered by sheer white curtains. The light should fall evenly across both sides of the face. For infants lying on the floor, place the white board perpendicular to the window so the natural light washes over them from top to bottom, filling in any under-eye shadows.
The failure mode here usually happens when parents rely on standard overhead room lighting combined with the smartphone's flash. The flash creates a harsh, defined drop shadow directly behind the head. You can cross-reference the lighting against the Baby Passport Photo Requirements by Country to see how strictly various international systems punish background shadows. If you see a hard black line contouring the child's shoulder, turn off the flash and move closer to a window.
3. Formatting the foto per carta d'identità elettronica
Italy adheres to the strict physical dimensions mandated by European ICAO standards for its national identification cards. Getting the framing right before you crop is the only way to survive the upload process.
Millimeter precision dictates approval at the municipality
When you prepare a foto per carta d'identità elettronica, the image must measure exactly 35 millimeters in width and 45 millimeters in height. More critically, the size of the head within that frame is tightly regulated. The vertical distance from the bottom of the chin to the crown of the head (excluding the hair) must measure between 32 and 36 millimeters. This means the face must occupy roughly 70 to 80 percent of the total image area. There must be a clear margin above the head, and the top of the shoulders must be visible at the bottom edge.
The mistake people make is trying to crop the image manually using the default photo application on their smartphone. Native editing tools operate in generic aspect ratios like 3:4 or 16:9, completely ignoring physical print dimensions. When you drag the corners of the bounding box inward, you lose all reference to millimeter scale. Once printed, the head size usually ends up too small, resulting in a rejection at the municipality desk.
To bypass this, you must capture the image slightly wider than necessary, ensuring plenty of empty background around the head and shoulders. You then run the uncropped file through dedicated biometric formatting software that overlays the ICAO sizing template, automatically locking the chin and crown to the correct millimeter margins before executing the crop.
4. Finalizing the foto per permesso di soggiorno
While digital municipal systems enforce strict digital cropping, local immigration offices handling residency documents often operate with older optical scanners and require high-contrast physical prints.
Immigration offices require unedited physical prints
Submitting a foto per permesso di soggiorno involves handing over physical photographs to an officer at the Questura. Because these images will be physically scanned into the database, the contrast between the subject and the background must be absolute. The background must be pure white or a very light gray, completely free of patterns, wrinkles, or texture. When photographing infants on a bed sheet, the folds in the fabric cast micro-shadows that the optical scanner interprets as a patterned background.
Parents often attempt to fix a wrinkled background by using digital eraser tools to paint out the texture. This is a fatal error. Manual background replacement leaves jagged, unnatural edges around the hairline and shoulders. Immigration officers are trained to look for digitally altered images, and a manually painted background is grounds for immediate rejection under the suspicion of image tampering.
If the background is imperfect, you must use an automated biometric tool that cleanly segments the subject using edge-detection AI, replacing the background with a uniform white canvas without compromising the stray hairs. Otherwise, you must reshoot using a completely smooth piece of white poster board or cardstock.
5. Exporting a foto digitale formato tessera
When applying for documents via digital portals rather than in person, the technical specifications shift from physical print quality to file integrity.
File compression destroys the biometric readability
Uploading a foto digitale formato tessera introduces the risk of data loss. Government portals typically require a JPEG file with a minimum resolution of 400 dots per inch (DPI) and a file size capped around 500 kilobytes. The file must retain its sharp edge definitions so the portal's automated validation software can read the eyes and mouth.
The failure occurs when a parent captures a perfect image but transfers it to their computer via a messaging application like WhatsApp or iMessage. These platforms apply aggressive compression algorithms to save bandwidth, drastically reducing the file's resolution and introducing digital artifacts. The smooth gradient of a cheek becomes a blocky, pixelated mess. When the portal attempts to scan this compressed file, it fails to find the sharp edges required for facial mapping.
To prevent this, you must transfer the image file directly via email at its original size, or use a cloud storage link. If you encounter errors during the upload process, consulting a Help Center guide on file formats will confirm whether your device's default HEIC format needs to be manually converted to a standard JPEG before submission.
Common Pitfalls & Troubleshooting
Even with perfect lighting and framing, subtle mechanical failures can ruin an application. These three distinct issues account for the vast majority of rejections at the municipal desk, and they require different interventions to fix.
The Asymmetrical Gaze Symptom: The subject's face is brightly lit, but one ear shows more prominently than the other, and the eyes are slightly averted. Fix: Infants naturally look at the person holding the camera rather than the lens itself. If you hold the phone at chest level and look over it, the child will look at your face, resulting in a downward gaze. You must hold a high-contrast toy or a small light directly over the physical camera lens on the back of the device to draw their eyes to the correct axis. The face must directly address the sensor.
The Gray Washout Symptom: The subject looks correctly exposed, but the required pure white background renders as a muddy, dark gray. Fix: Smartphone cameras use an automatic exposure meter that tries to balance the entire scene to a neutral gray. When it sees a massive expanse of pure white background, it assumes the scene is too bright and automatically darkens the exposure, turning the white board gray. To override this, tap and hold on the subject's face on the screen to lock the focus and exposure, then slide the manual exposure bracket slightly upward until the background brightens without blowing out the subject's skin tones.
The Print Resolution Mismatch Symptom: The digital file looks sharp on a monitor, but the printed version is blurry, heavily pixelated, or physically the wrong size, no matter if the clerk asked for a fototessera o foto tessera. Fix: Printing a single 35x45mm image directly from a standard computer print dialog almost always scales the image improperly to fit the page. You must nest the cropped image onto a standard 4x6 inch (10x15 cm) digital printing template. This locks the biometric crop at its exact physical dimensions. When you take that 4x6 template to a pharmacy or photo kiosk and print it on glossy photo paper at 100% scale, the individual identification photos will measure precisely 35x45mm when cut out.
FAQ
Does the infant's mouth need to be completely closed? While adult standards strictly mandate a neutral expression with a closed mouth, Italian authorities and ICAO guidelines generally grant leeway for infants under one year of age. A slightly open mouth is usually accepted, provided the child is not visibly crying or displaying exaggerated emotions.
Can my hands be visible if I need to support the baby's head? No. Government guidelines universally reject images where hands, arms, or any supporting objects are visible in the frame. If the infant cannot hold their head steady, lay them flat on their back on a white board to eliminate the need for physical support.
Is a light gray background acceptable instead of pure white? Yes. While pure white is ideal, a uniform, light gray or cream background is acceptable for most European identification documents, provided there is sufficient contrast between the background and the subject's hair and clothing.
Can I print the file on standard office printer paper? No. The final physical print must be produced on high-quality, continuous-tone photographic paper. Standard inkjet or laser printer paper introduces a dot-matrix pattern that optical scanners misinterpret as image tampering or facial blemishes, resulting in an immediate rejection.